🧋 Introduction
My Journey with Note-Taking Apps
I use Obsidian as my persoanl knoweldge base instead of Notion. The reason is simple:
- Notion feels too heavy
- It comes with too many features I do not really need
- The loading speed can feel slow at times
Obsidian, on the other hand, feels lightweight, fast, and much closer to the kind of workflow I want for managing my notes
Sync options for Obsidian
There are many possible options, and I spend quite a bit of time looking through them.
- Official options
- Obsidian Sync
- It’s polished and reliable, but it is a paid service.
- iCloud
- This can be a solid choice if you are fully in the Apple ecosystem.
- However, it becomes less practical when you also use non-Apple devices. (I use NixOS btw)
- Obsidian Sync
- Unofficial options
- Git & GitHub
- I tried this before, but the mobile experience was not great, expecially when the repository became larger.
- On iPhone, using apps like Working Copy for pull and push operations did not feel very reliable.
- Syncthing
- Peer-to-peer sync is a very practical approach, expecially when combined with a WireGuard-based VPN like Tailscale.
- The main problem for me was the lack of official support on iPhone.
- ⭐ Self-hosted livesync(with CouchDB)
- The option stood out the most to me.
- Git & GitHub
Why I Chose Self-Hosted LiveSync
In the end, I decided to go with self-hosted LiveSync, backed by CouchDB, for a few reasons:
- I already have my own home server running on Proxmox
- The LiveSync plugin has a strong community and over 10k GitHub start
- It looked fun to build and self-host
In this post, I will walk through how I set up my Obsidian sync stack using CouchDB + Caddy + Tailscale inside a Proxmox LXC container.
🏗️ Provisioning an LXC Container
First, We will provision an LXC Container in a Proxmox Cluster.
I use the Terraform provider bgp/proxmox, to manage resources declaratively.
Downloading Debian 13 LXC Image
Although we are using Terraform, the proxmox_download_file resource currently downloads the LXC image repeatedly, because of a checksum verification issue.
So for now, I will download manually instead.
First, connect to your proxmox cluster:
| |
Then, list officially supported LXC images:
| |
Download the Debian13 image:
| |
Terraform Module
We will create a module to make the code reusable.
| |
Here’s the module’s variables.tf.
| |
If we expose the IPv4 address as an output, we can connect to the LXC container more easily:
| |
provider.tf
To passthrough a device, you need to access Proxmox using an administrator account (root@pam) with a password:
| |
main.tf
| |
variables.tf
| |
Applying & Accessing
Now, you can create the LXC Container!
| |
After applying, You can access container now:
| |
Settingup CouchDB + LiveSync
Install CouchDB
First, update the package manager and upgrade installed packages.
Then, install the dependencies required to follow the CouchDB installation instructions:
| |
Next, follow the official CouchDB installation guide here.
During installation, a TUI prompt will appear to configure CouchDB.
You can use the following options:
- type:
standalone - bind address:
127.0.0.1 - Erlang magic cookie:
<your-random-long-string> - admin password:
<your-admin-password>
Store the informations somewhere private and secure.
To verify that CouchDB is running, check its service status:
| |
Install Obsidian LiveSync
Replace the placeholders and run the script below:
| |
You can also refer to the latest instructions here.
If the output looks like this:
| |
then the database has been initialized successfully.
🔒 Setting up Tailscale
Tailscale is a peer-to-peer VPN built on the top of WireGuard, so it lets you securely connect you devices from anywhere.
Install Tailscale on Your devices
Log in to Tailscale and open the dashboard.
The dashboard already provides clear installation instructions for each platform, so you can simply follow them.
You have to install Tailscale in all the devices you want to use Obsidian.
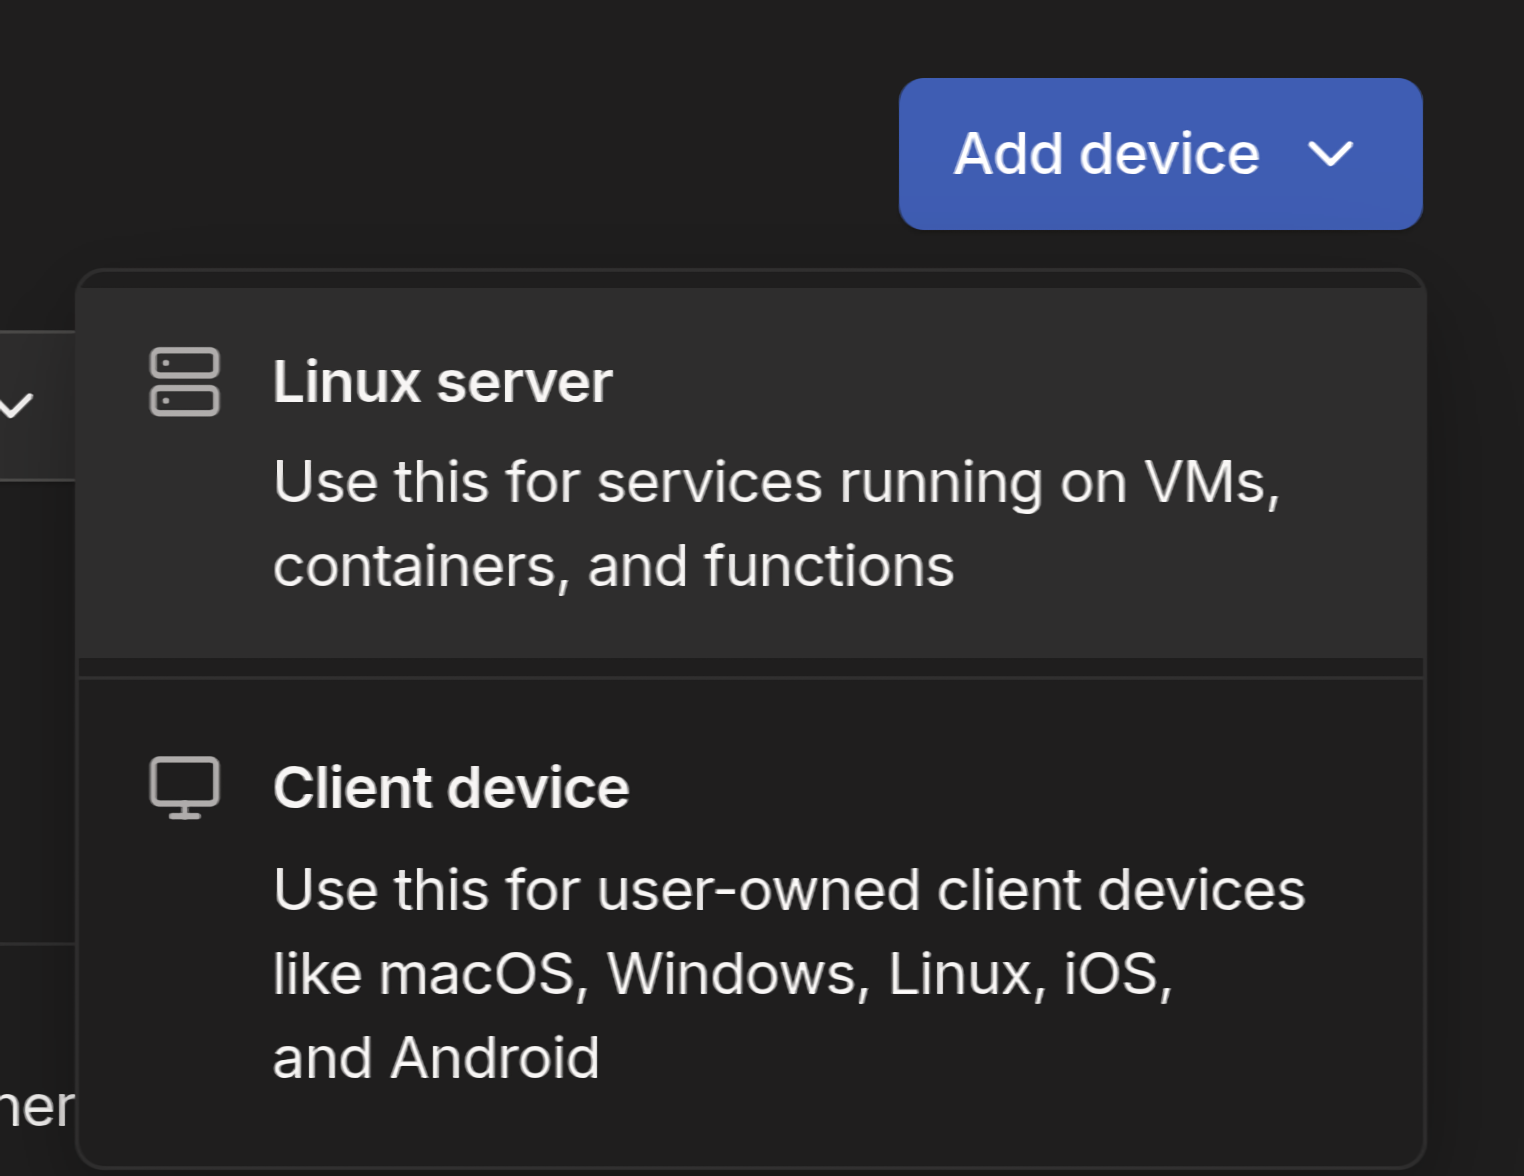
Once Tailscale is installed and connected, you can also verify it from inside your LXC container.
A new network interface should appear:

Set Up MagicDNS
Tailscale also supports internal DNS and HTTPS certificates support issued by Let’s Encrypt. \
In Dashboard -> DNS, enable MagicDNS and HTTPS Certificates.
👮 Setup Caddy
Caddy is a simple web server that can also act as a reverse-proxy.
It integrates especially well with Tailscale, which makes it a great fit fot this setup
You can install Caddy here.
In /etc/caddy/Caddyfile, configure the reverse proxy:
| |
In /opt/couchdb/etc/local.ini, configure the CORS options.
| |
In /etc/default/tailscaled, make sure the caddy user can access Tailscale in order to manage HTTPS certificates.
| |
Then, restart the services
| |
🍰 Client usage
Almost done!
The only things left are migrating your existing vault and connecting your client devices.
Generate a Setup URI
The commands below do not need to be run inside the LXC container.
You can run them on your own laptop instead.
| |
Migrate Your Existing Vault
Follow these steps:
- Install the Self-hosted LiveSync plugin in Obsidian.
- Enable the plugin
- For Device Setup Method, select Use a Setup URI.
- Enter your passphrase and URI(
obsidian://setuplivesync?settings=...)
- Enter your passphrase and URI(
- Select “I am setting up a new server for the first time / I want to reset my existing server.”
- Follow the remaining steps.
- Reload the app once without saving.
Register your other devices
I created a new valut in my phone, and followed these steps:
- Install the Self-hosted LiveSync plugin in Obsidian.
- Enable the Plugin
- For Device Setup Method, select a Setup URI. (QR code didn’t work for me)
- Enter with your passphrase and URI(
obsidian://setuplivesync?settings=...)
- Enter with your passphrase and URI(
- Select “My remote server is already set up. I want to join this device”
- Select “This Vault is empty, or contains only new files that are not on the server”
- Follow the remaining setup steps.
- Reload the app once without saving.
Settings
I am using LiveSync presets, for immediate syncing.
In most case, the sync latency is under one second.
☁️ Off-Site Backup
Because the database can become a single point of failure, you should be prepared for outages or storage failures.
With an off-site backup, you can restore your data more safely.
Git & GitHub
It may feel a little awkward to keep using Git here, but it is still a practical option for a secondary backup because it is lightweight enough for frequent pushes.
You don’t need to install it on every device.
Instead, you can install a Git plugin on your main desktop or laptop and push changes continuously.
Auto-push is also supported by Git plugins.
In this setup, the .git folder is automatically ignored when syncing via LiveSync, so you don’t need to worry about sync conflicts or Git history growth affecting LiveSync.
Cloud Object Storage
Object storage services such as Cloudflare R2 or AWS S3 are highly reliable, and their lifecycle policies are very useful.
Periodically backing up your data to object storage can be a good option.
You can also automate backups using cron and the AWS CLI.