🧋 개요
나의 노트앱 여정
나는 Notion 대신에 Obsidian을 주로 쓰는데, 이유는 다음과 같다:
- 노션은 너무 무거움
- 불필요한 기능들이 많음
- 로딩이 김
Obsidian은 더 가볍고 단순해서 계속 사용하게된다.
(그리고 더 이쁘다)
Obsidian의 동기화 옵션들
여러 옵션들이 있어 많은 고민들 끝에 동기화 방식을 정하게 되었다.
- 공식
- Obsidian Sync
- iCloud
- 완전 애플생태계만 쓴다면 괜찮은 선택
- 그러나, 나는 NixOS랩탑을 쓰는 등, 다른 환경도 사용하기에 부적절하다.
- 비공식
- Git & GitHub
- 내가 Obsidian을 쓰기 처음의 옵션이였지만, 레포지토리가 커지면서 모바일에서의 경험이 좋지 못했다.
- iPhone에서 Working Copy앱이 Pull 및 Push 오류가 꽤 잦았다.
- Syncthing
- Peer-to-peer방식이 매력적이고, Tailscale과 연동하면 특히 강력해보인다.
- 좋아보이긴 하지만, iPhone에서 공식 지원이 없어서 탈락..
- ⭐ Self-hosted livesync(with CouchDB)
Self-Hosted LiveSync를 고른 이유
결국, CouchDB기반의 self-hosted LiveSync 를 골랐는데, 이유는 다음과 같다:
- 이미 Proxmox 홈서버가 있음
- LiveSync 플러그인은 10k stars이상이며, 꽤 강력한 커뮤니티를 가지고있음
- 재밌을거같아서
이 포스트에서는, CouchDB + Caddy를 Proxmox LXC 컨테이너에서 운영하고, Tailscale로 기기들을 연결하여 Obsidian Sync 시스템을 만들 것이다.
🏗️ LXC Container 프로비저닝하기
우선, LXC Container 를 Proxmox Cluster에서 만들어줄 것이다.
선언적 환경 구성을 위해, Terraform 으로 설치할 것이며, provider는 bgp/proxmox를 이용한다.
Debian 13 LXC Image 다운로드
Terraform을 쓰긴 하지만, proxmox_download_file리소스가 현재 LXC이미지를 받을 때, 체크섬 확인에서 오류가 나서 매번 재설치를 진행한다.
대신, 이미지는 수동 설치를 하는 것이 좋을 듯 하다.
우선. SSH로 Proxmox 클러스터에 접속한다:
1
| ssh <your-proxmox-cluster>
|
이후, 공식 지원 LXC 이미지를 검색한다:
Debian13 이미지를 설치한다:
1
| pveam download local debian-13-standard_13.1-2_amd64.tar.zst
|
코드의 재사용성을 위해, 모듈을 만들어준다.
  1
  2
  3
  4
  5
  6
  7
  8
  9
 10
 11
 12
 13
 14
 15
 16
 17
 18
 19
 20
 21
 22
 23
 24
 25
 26
 27
 28
 29
 30
 31
 32
 33
 34
 35
 36
 37
 38
 39
 40
 41
 42
 43
 44
 45
 46
 47
 48
 49
 50
 51
 52
 53
 54
 55
 56
 57
 58
 59
 60
 61
 62
 63
 64
 65
 66
 67
 68
 69
 70
 71
 72
 73
 74
 75
 76
 77
 78
 79
 80
 81
 82
 83
 84
 85
 86
 87
 88
 89
 90
 91
 92
 93
 94
 95
 96
 97
 98
 99
100
101
102
103
104
105
106
107
108
109
110
111
| # ./modules/lxc_container/main.tf
terraform {
required_providers {
proxmox = {
source = "bpg/proxmox"
version = "0.101.0"
}
}
}
resource "proxmox_virtual_environment_container" "container" {
description = var.description
node_name = var.node_name
vm_id = var.vm_id
unprivileged = true
# If true, it cannot be destoryed.
protection = var.protection
features {
nesting = true
}
# Required to turn on tailscaled on LXC container.
device_passthrough {
path = "/dev/net/tun"
}
# If you want you can make resource quotas to variables.
cpu {
cores = 2
limit = 2
units = 1024
}
memory {
dedicated = 2048
swap = 512
}
initialization {
hostname = var.hostname
ip_config {
ipv4 {
address = "dhcp"
}
}
user_account {
keys = var.ssh_keys
password = random_password.container.result
}
}
wait_for_ip {
ipv4 = true
}
network_interface {
name = var.network_interface
}
disk {
datastore_id = var.datastore_id
size = var.disk_size
}
operating_system {
template_file_id = var.template_file_id
type = var.os_type
}
startup {
order = "3"
up_delay = "60"
down_delay = "60"
}
dynamic "mount_point" {
for_each = var.mount_points
content {
path = mount_point.value.path
volume = mount_point.value.volume
size = try(mount_point.value.size, null)
read_only = try(mount_point.value.read_only, null)
backup = try(mount_point.value.backup, null)
replicate = try(mount_point.value.replicate, null)
shared = try(mount_point.value.shared, null)
quota = try(mount_point.value.quota, null)
acl = try(mount_point.value.acl, null)
mount_options = try(mount_point.value.mount_options, null)
}
}
tags = var.tags
}
resource "random_password" "container" {
length = 16
override_special = "_%@"
special = true
}
output "container_password" {
value = random_password.container.result
sensitive = true
}
|
아래는 모듈의 variables.tf이다.
 1
 2
 3
 4
 5
 6
 7
 8
 9
10
11
12
13
14
15
16
17
18
19
20
21
22
23
24
25
26
27
28
29
30
31
32
33
34
35
36
37
38
39
40
41
42
43
44
45
46
47
48
49
50
51
52
53
54
55
56
57
58
59
60
61
62
63
64
65
66
67
68
69
70
71
72
73
74
75
76
77
78
79
80
81
82
83
84
85
86
87
88
89
90
91
| # ./module/lxc_container/variables.tf
variable "description" {
type = string
description = "LXC description"
}
variable "node_name" {
type = string
description = "Proxmox node name"
}
variable "vm_id" {
type = number
description = "LXC VM ID"
}
variable "protection" {
type = bool
description = "Whether to prevent data"
}
variable "hostname" {
type = string
description = "Container hostname"
}
variable "ssh_keys" {
type = list(string)
description = "SSH public keys for root account"
default = []
}
variable "network_interface" {
type = string
description = "Container network interface name"
}
variable "datastore_id" {
type = string
description = "Datastore ID for root disk"
}
variable "disk_size" {
type = number
description = "Root disk size in GB"
}
variable "template_file_id" {
type = string
description = "OS template file ID"
}
variable "os_type" {
type = string
description = "Container OS type"
validation {
condition = contains([
"alpine",
"centos",
"debian",
"fedora",
"ubuntu",
"unmanaged"
], var.os_type)
error_message = "os_type must be one of the supported Proxmox LXC OS types."
}
}
variable "mount_points" {
description = "Additional mount points for the container"
type = list(object({
path = string
volume = string
size = optional(string)
read_only = optional(bool)
backup = optional(bool)
replicate = optional(bool)
shared = optional(bool)
quota = optional(bool)
acl = optional(bool)
mount_options = optional(list(string))
}))
default = []
}
variable "tags" {
description = "Tags"
type = list(string)
}
|
IPv4 주소를 output으로 꺼내주면, LXC 컨테이너에 접속하기 쉬워진다:
1
2
3
4
| # ./modules/lxc_container/outputs.tf
output "ipv4" {
value = proxmox_virtual_environment_container.container.ipv4
}
|
provider.tf
디바이스 패스스루를 하려면, Proxmox에 관리자 계정 (root@pam)을 비밀번호 기반으로 접근해야 한다.
토큰 기반으로는 안된다.
 1
 2
 3
 4
 5
 6
 7
 8
 9
10
11
12
13
14
15
16
17
18
19
20
| terraform {
required_providers {
proxmox = {
source = "bpg/proxmox"
version = "0.101.0"
}
}
}
provider "proxmox" {
endpoint = <your_endpoint>
username = var.proxmox_username
password = var.proxmox_password
insecure = true
ssh {
agent = true
username = "root"
}
}
|
main.tf
 1
 2
 3
 4
 5
 6
 7
 8
 9
10
11
12
13
14
15
16
17
18
19
20
21
22
23
24
25
26
27
28
29
30
31
| # main.tf
locals {
# Import your SSH public keys here
ssh_keys = [
]
}
module "couchdb" {
source = "./modules/lxc_container"
node_name = <your-node-name>
description = "CouchDB LXC"
datastore_id = <your-datastore-id>
protection = true # Recommended
vm_id = 500 # You can change if you want
network_interface = <your-network-interface>
disk_size = 32 # You can change if you want
hostname = "couchdb" # You can change if you want
# File ID format: `datasotre_id:type/<image>`
template_file_id = "local:vztmpl/debian-13-standard_13.1-2_amd64.tar.zst"
os_type = "debian"
ssh_keys = local.ssh_keys
# Example tags
tags = ["debian", "couchdb", "obsidian"]
}
output "couchdb_ipv4" {
value = module.couchdb.ipv4
}
|
variables.tf
 1
 2
 3
 4
 5
 6
 7
 8
 9
10
11
12
| # varialbes.tf
# `terraform.tfvars` should be ignored by Git.
# or, you can use environment variable: `export TF_VAR_<variable_name>`
variable "proxmox_username" {
type = string
default = "root@pam"
}
variable "proxmox_password" {
type = string
sensitive = true
}
|
적용 & 접속하기
이제, LXC 컨테이너를 만들 수 있다!
1
2
3
4
5
| terraform init
terraform plan
terraform apply -auto-approve
|
이후, 컨테이너에 접속할 수 있다:
1
| ssh root@<your-container-ip>
|
CouchDB + LiveSync 서버 세팅
CouchDB 설치
우선, 패키지 매니저를 업데이트하고, 패키지를 업그레이드해준다.
이후, 설치 매뉴얼에서 필요한 의존성들을 받아준다:
1
2
3
| apt update
apt upgrade -y
apt install -y gpg curl sudo
|
이후, 공식 CouchDB 문서를 통해 CouchDB를 다운받는다.
설치하는동안, TUI 인터랙션이 시작된다.
아래의 설정대로 따라가면 된다:
- type:
standalone - bind address:
127.0.0.1 - Erlang magic cookie:
<your-random-long-string> - admin password:
<your-admin-password>
Magic cookie, admin password는 안전한 곳에 넣자.
CouchDB가 실행되는지 확인해보자:
1
| systemctl status couchdb
|
Obsidian LiveSync 설치
아래 스크립트에 정보를 넣고 실행하자:
1
| curl -s https://raw.githubusercontent.com/vrtmrz/obsidian-livesync/main/utils/couchdb/couchdb-init.sh | hostname=http://<YOUR SERVER IP>:5984 username=<INSERT USERNAME HERE> password=<INSERT PASSWORD HERE> bash
|
원본 설치 매뉴얼도 같이 참고하는걸 추천한다:
결과가 아래처럼 나오면, 성공이다:
 1
 2
 3
 4
 5
 6
 7
 8
 9
10
11
12
| -- Configuring CouchDB by REST APIs... -->
{"ok":true}
""
""
""
""
""
""
""
""
""
<-- Configuring CouchDB by REST APIs Done!
|
🔒 Tailscale 설치
Tailscale 은 WireGuard 기반의 Peer-to-peer의 VPN이다.
이를 통해 안전하게 장치들 간의 연결을 할 수 있다.
디바이스들에 Tailscale설치
Tailscale에 로그인하고 대시보드에 들어간다.
대시보드에서 설치 메뉴얼을 친절하게 제공하므로, 따르면 된다.
Obsidian을 쓰려는 모든 기기마다 설치해주면 된다.
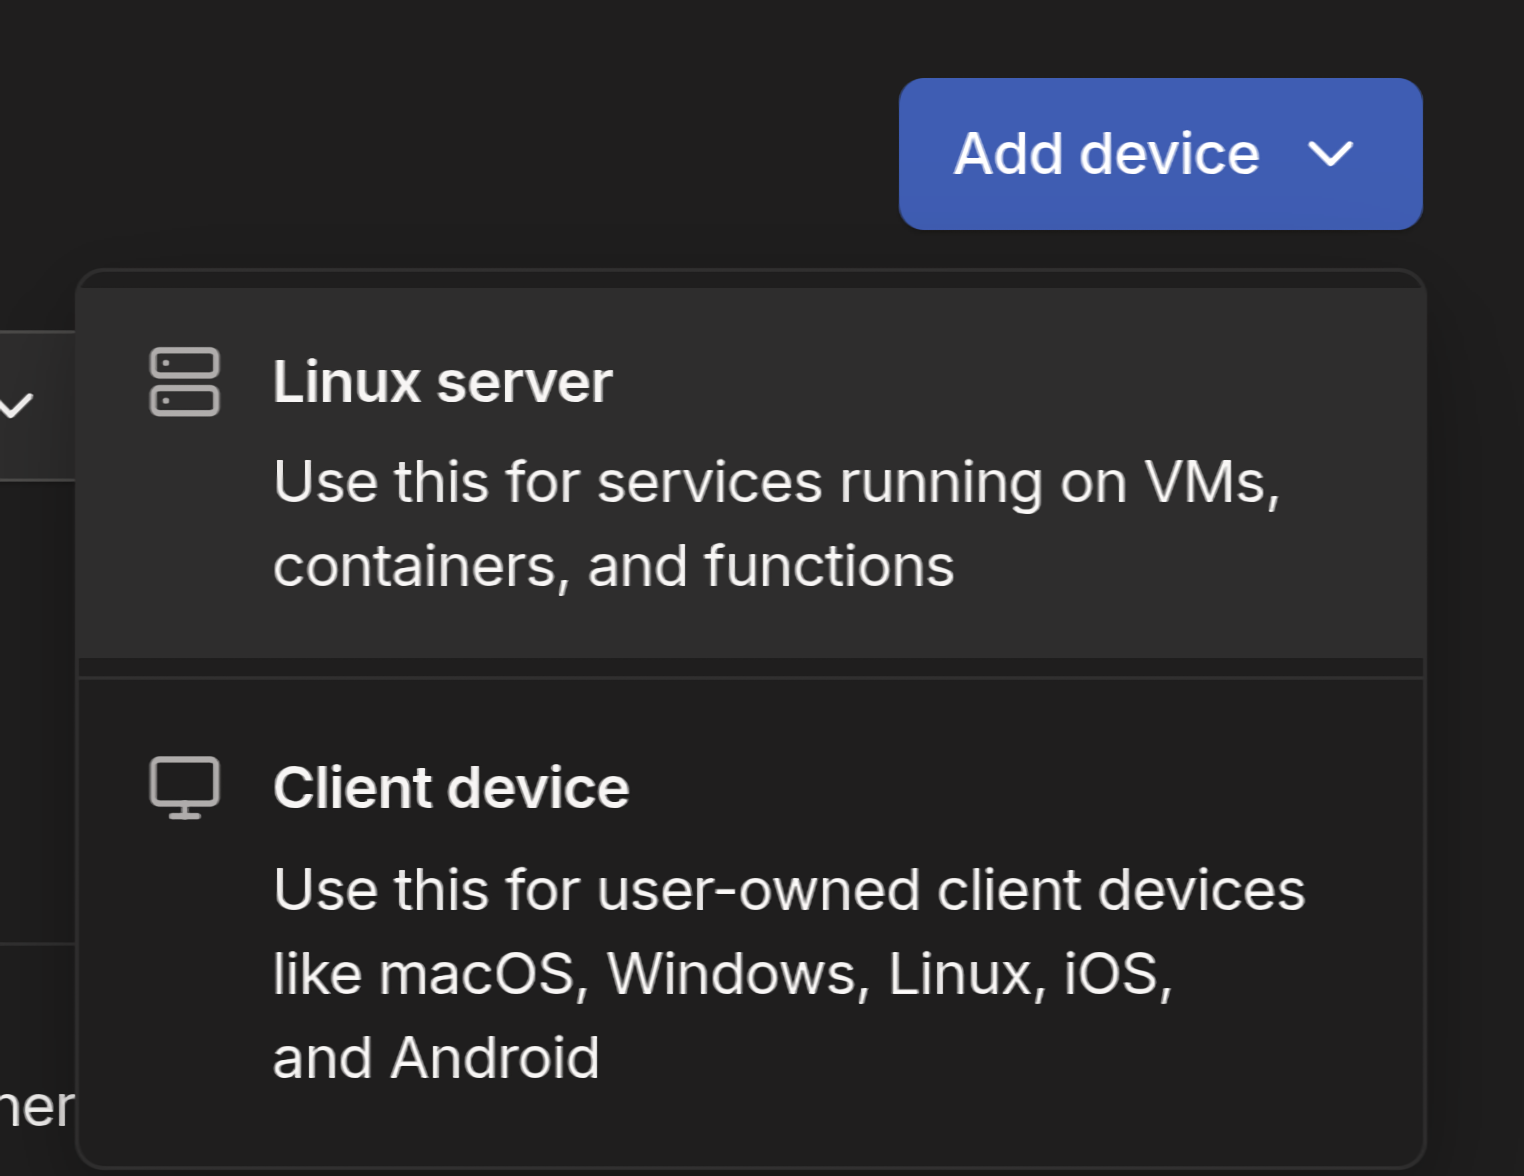
Tailscale이 설치되면, 새로운 네트워크 인터페이스가 추가된다.
아래는 LXC 컨테이너에서의 설치 이후 모습이다:

MagicDNS 세팅
Tailscale은 또한 내부 DNS와 Let’s Encrypt에서 제공하는 HTTPS 인증서 연동을 지원한다. \
Dashboard -> DNS에서, MagicDNS 와 HTTPS Certificates를 enable해준다.
👮 Caddy 설치
Caddy 는 리버스 프록시로도 활용될 수 있는 간단한 웹 서버이다.
Tailscale과 연계가 특히 좋은데, CouchDB는 REST API를 지원하여, Caddy는 CouchDB의 앞단에서 동작할 것이다.
여기에서 Caddy를 설치할 수 있다.
/etc/caddy/Caddyfile에서, 리버스 프록시 설정을 해준다.
1
2
3
4
5
6
7
8
9
| # /etc/caddy/Caddyfile
# Match your tailnet MagicDNS FQDN
https://<hostname>.<your-tailnet>.ts.net {
reverse_proxy 127.0.0.1:5984 {
header_up Host {host}
header_up X-Forwarded-For {remote_host}
header_up X-Forwarded-Proto {scheme}
}
}
|
/opt/couchdb/etc/local.ini에서, CORS설정을 해준다.
 1
 2
 3
 4
 5
 6
 7
 8
 9
10
11
| [chttpd]
bind_address = 127.0.0.1
port = 5984
enable_cors = true
[cors]
credentials = true
origins = app://obsidian.md, capacitor://localhost, http://localhost
headers = accept, authorization, content-type, origin, referer
methods = GET, PUT, POST, HEAD, DELETE, OPTIONS
max_age = 3600
|
/etc/default/tailscaled에서, caddy유저가 Tailscale을 통해 인증서를 관리하도록 한다.
1
| TS_PERMIT_CERT_UID=caddy
|
이후, 서비스들을 재시작한다.
1
2
3
| systemctl restart tailscaled
systemctl restart caddy
systemctl restart couchdb
|
🍰 클라이언트 사용법
이제 남은건, 저장소 마이그레이션과 클라이언트 연동 뿐이다.
Setup URI 생성
아래 명령어로 생성한다.
LXC말고, 편한 곳에서 실행하면 된다.
 1
 2
 3
 4
 5
 6
 7
 8
 9
10
11
12
| export hostname=<your-hostname>
export database=obsidiannotes # Change this if you want
export passphrase=<random-passphrase>
export username=<username>
export password=<password>
deno run -A https://raw.githubusercontent.com/vrtmrz/obsidian-livesync/main/utils/flyio/generate_setupuri.ts
# Generated Passphrase & Link:
Your passphrase of Setup-URI is: <passphrase>
This passphrase is never shown again, so please note it in a safe place.
obsidian://setuplivesync?settings=....
|
기존 Obsidian Vault로부터 마이그레이션(첫 클라이언트 등록 시)
아래 단계를 따른다:
- Obsidian에서 Self-hosted LiveSync 플러그인을 설치한다.
- 플러그인을 활성화한다.
- Device Setup Method 에서,Use a Setup URI 를 고른다.
- passphrase와 URI(
obsidian://setuplivesync?settings=...)를 입력한다.
- “I am setting up a new server for the first time / I want to reset my existing server.” 를 선택한다.
- 나머지 단계를 적절하게 진행한다.
- Without saving으로 앱을 재실행한다.
추가 클라이언트 등록
두 번째 기기 부터는 새로운 vault를 만들어서 진행했다.
아래 단계를 따른다:
- Obsidian에서 Self-hosted LiveSync 플러그인을 설치한다.
- 플러그인을 활성화한다.
- Device Setup Method 에서, Use a Setup URI 를 고른다.(모바일에서 QR이 안되던데, 가능하면 QR을 써도 될거같다.)
- passphrase와 URI(
obsidian://setuplivesync?settings=...)를 입력한다.
- “My remote server is already set up. I want to join this device” 를 고른다.
- “This Vault is empty, or contains only new files that are not on the server” 를 고른다.
- 나머지 단계를 적절하게 진행한다.
- Without saving으로 앱을 재실행한다.
설정
LiveSync 프리셋을 이용해서, 실시간 동기화 기능을 켜고 사용 중이다.
대부분의 상황에서 1초 이내로 동기화된다.
☁️ Off-Site 백업
현재 DB가 단일 장애점의 위험 이 있기에, 정전 및 디스크 장애에 대해 대비할 수 있어야 한다.
대비하면 이후에 장애 상황에서도 백업을 할 수 있다.
Git & GitHub
이전에 Git을 쓰다가 갈아타는 거라면서, 계속 Git을 쓴다니, 좀 이상할 수 있다.
그러나, 보조 백업수단으로는 꽤 괜찮은데, Git플러그인에서 주기적 푸시를 지원하며, 이는 꽤 가볍기 때문이다.
즉, 가벼운 백업을 짧은 주기로 계속 emit하는거라 꽤 괜찮다.
또한, 모든 디바이스에서 설치할 이유 없이, 메인 디바이스(컴퓨터, 노트북)에서만 추가로 Git 플러그인을 설치해서 푸시하면 된다.
.git폴더는 LiveSync에서 자동으로 동기화 무시되므로, CouchDB에도 부담이 덜하고, 동기화 문제도 걱정 할 필요 없다.
Cloud Object Storage
Cloudflare R2 나 AWS S3 와 같은 오브젝트 스토리지는 매우 높은 가용성과 데이터 내구성을 자랑한다.
또한, 비용도 저렴한 편이다.
주기적으로 오브젝트 스토리지에 백업해주는 것도 좋다.
예를 들어, cron과 AWS CLI를 이용하면 자동 백업이 가능하다.
📚 References